Through Bloominglabs I’ve had the chance to do some really cool volunteer work. The library system and the local children’s museum, Wonderlab, have a lot of programs, workshops, and events for kids. Some of the workshops that are more technology-centered end up being taught by us at Bloominglabs, which we do to create an army of makers out of the goodness of our hearts. Being able to help out in these workshops is really one of my favorite things about being a part of Bloominglabs. Since they often are centered on teaching experiences for minors, they don’t fit in my IRB clearance for my research, which means 1) I’m able to fully experience the joy of teaching things to kids without also keeping an eye out for writing opportunities, and 2) that I can write about these experiences here!
(In this post are the pictures I took myself. More and better pictures can be found at the Bloominglabs Flickr page.)
Bug bots at wonderlab
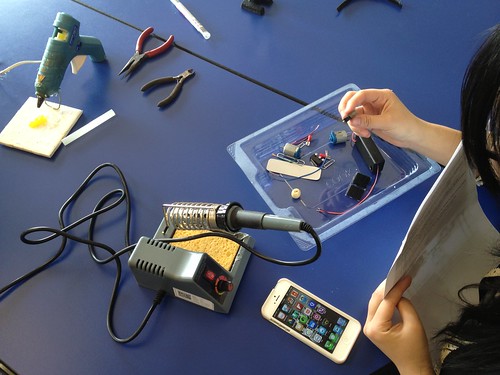
This workshop is basically an excuse to teach kids how to solder. The carrot is that they get to take tiny little robots home with them when they’re done! The whole kit is really very simple, and the robot is simple, but IT’S A FREAKING ROBOT! So naturally it’s completely all awesome all of the time. The robots ‘wheels’ are the left and right motors. They have paperclip antennas attached to switches that change the direction of the attached motor when they are bumped, making the robot look like a bug and also helping it back away from obstacles it bumps into. The kids LOVED it! One of the little guys I helped out with burnt himself a little holding the soldering iron, but he didn’t let that stop him, he just kept his eye on the prize and got to walk out of there with a fully functioning robot he built himself with his new soldering expertise (some of the kids are now better at it than I am. I’m crap at soldering. This workshop was actually the first time I’d ever soldered anything). The only soldering we do ahead of time is to connect an extra wire onto the battery pack to make sure the reversing switch can work. Otherwise the kids do all of the soldering themselves. This workshop took place as a proper Wonderlab event in the museum event space.

Jenett getting them all ready before we hand out the instructions (which I had stapled backwards…doh!)

Soldering irons ready and waiting!
College students welcome too!
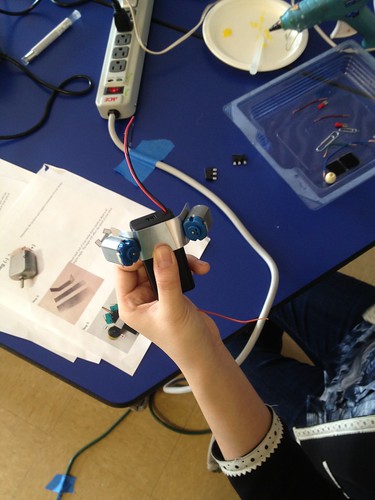
Like a puzzle.
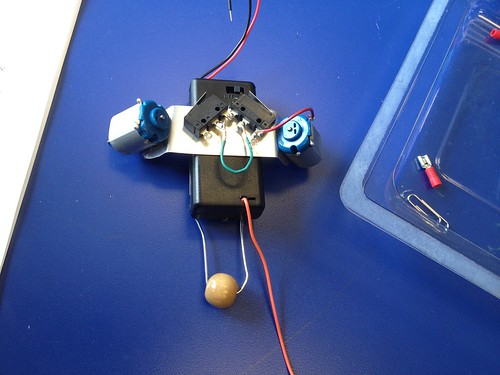
What it will sorta look like when complete.
First little guy done!
Hot glue action.
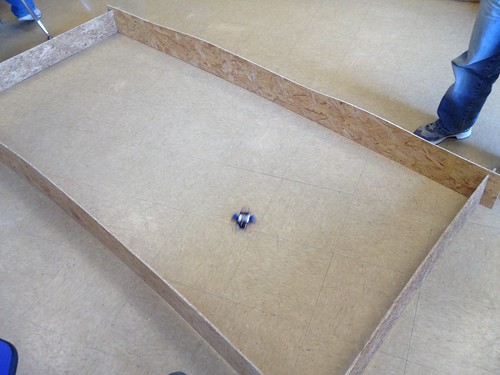
Completed bugbot running around 🙂
Speakers at both libraries and at geek camp
This one was also a really simple camp. The best policy for these kinds of workshops, in my opinion and thankfully Jenett also says so, is that they should be chaotic. Kids should be running around all over the place experimenting with stuff. That’s a little more difficult to do with the bug bots, since there is a right way to make those. But this speaker camp lets them mess around with materials, question their assumptions, make hypothesis and test them, and just goof off if they feel like it. We explain to them how speakers work, giving a really quick demonstration with a speaker we’ve made ahead of time. We tell them the electricity comes from the amp into the coil. The coil creates a magnetic field. The magnets then vibrate the ‘membrane’ (aka cup or bowl or w/e). Then that membrane makes sound because of the vibrations. After that, we tell them to go for it! Construct your speakers however you want, then bring them back up to the front of the class and we’ll help you put a coil on there and some magnets if you haven’t, and help you plug it into the amp and see if what you did made sound. Was it loud enough? Was it clear enough? Why? Why not? What do you think you could do to change it? I bet that would work! Go do it and bring it back up here 😉 We did this workshop at both the Bloomington and the Elletsville branches of the Monroe Country Public Library, and I showed it to the kids that visited Bloominglabs for Geek Camp.
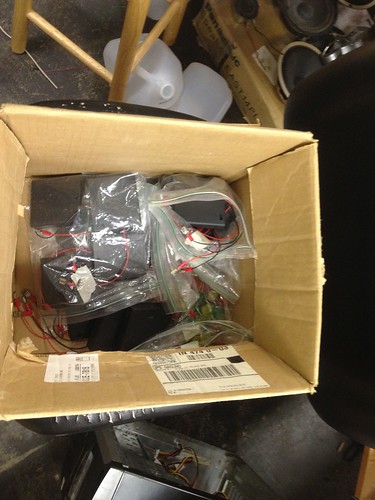
Some of the gear that was left over after the first one. It’s fun to give them all kinds of stuff. We’ve found that metal coffee cans seem to work the best.
Video of Jenett listening to a speaker Heath and I put together. We’re not just going to sit idly by and let the kids have all of the fun!
Stop motion animation at the library
Unfortunately I didn’t get any pictures of this, but it also involved a lot of running around and chaos, but this time with Legos! We had the kids help us explain how stop motion movies work, then we showed them a few things about the software we had them use (MonkeyJam), and then we let them loose on the Legos and other toys they could pick from to make their movies. One brother and sister came with their own Lego house built already, and they knew exactly what they were going to do! They all turned out really cool, and it was amazing to watch the little tricks they would come up with for ‘special effects.’ We did this event at both libraries.
Squishy Circuits at wonderlab camp
This one was one of my favorites, and not just because some of the Play-doh had sugar in it. Each kit had conductive dough, non-conductive dough, a battery pack, a bunch of LEDs, a motor, and a buzzer. We had the kids help us explain how electricity works (sensing a pattern yet?) and then showed them what role the dough could play in their projects, and then just let them play around with it. For the most part they did a really good job collaborating or taking turns. I helped one little guy make a hand buzzer, like the kind you’d get at a joke shop. Of course it was really bulky and required some cooperation from the victim, but it was still pretty exciting. This event was part of a Wonderlab Camp that Wonderlab puts on every Summer at University Elementary.
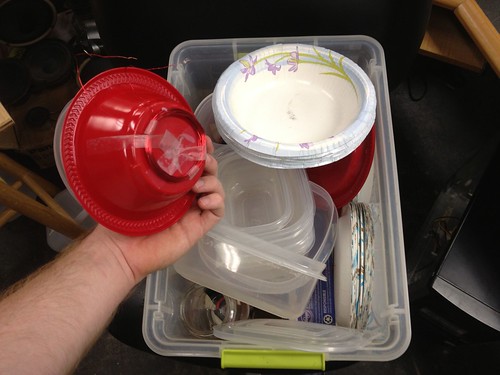
Box o’ squishy circuit kits.
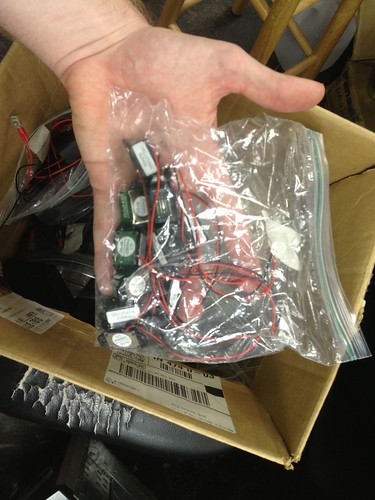
Bag o’ buzzers.

Bag o’ jumbo LEDs.
And of course the motor. Really only used in this workshop for making flags wave since the resistance of the play-doh is pretty high and sucks up a lot of the energy (the motors don’t get a lot of power).
Pretty dark, but you can see em runnin around.
Example of a very basic squishy circuit.
Makey Makey at wonderlab camp
Makey Makey is probably the coolest thing you own. If it isn’t, then that means you just haven’t picked one up yet. (I swear they don’t pay me). Makey Makey lets you make your own controllers for your computer through anything conductive, even through yourself! This one was a little more complicated and less fun to set up, because each Makey Makey has to be connected to a computer, which was something that had to be figured out, and then we had to figure out what we were going to have them do. There’s really a LOT of different things you could do with it, but the best option in terms of getting them playing with their own controllers quickly was to rely on Scratch and let them play video games with their own controllers. After we showed them that they could make controllers on pieces of paper by drawing on them, a lot of them seemed to get pretty comfortable with that and stuck with it, creating cool controllers they could play with collaboratively. For the few who became bored with that, we had a whole table full of junk they could play around with. It became a sort of conductivity game. Will goldfish crackers work as a button? (I was surprised that they did!) Will a penny? What if you high fived each other? How can you incorporate that into pac man? Again, like the stop motion event, watching them come up with their own things and workarounds was definitely the best part. We did this event at Wonderlab Camp, by Wonderlab in University Elementary. We taught this camp one day, and then the Drawdios the next day to the same group of kids.
Building a controller for pac man.

Playing some pac man with a self-made controller!
Drawdio at wonderlab camp
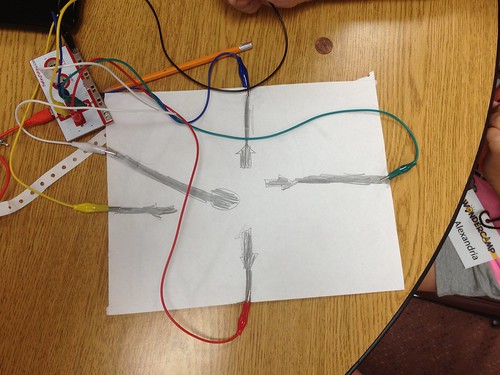
Drawdios are basically pencils with speakers that beep different frequencies based on resistance. When you draw a dark rectangle with a graphite pencil, that becomes your resistant surface, and as you draw further away from the end point, the resistance increases, changing the pitch. This teaches the kids a bunch of different lessons about electricity in a uniquely embodied way, so of course we dig that at Bloominglabs (I don’t think I’ve every said “I dig that” before, but I’m going with it). Like the bug bots workshop, the kids had to learn how to solder to put these together. This, I’m ashamed to admit, was my second time ever soldering anything (yeah, I’m lame and only solder when I’m teaching kids to solder, apparently). So it wasn’t very hard for the kids to be much better than me at this. I showed them the basics, and by the end they had had more practice than me and really were much better than me at soldering, I’m not even exaggerating. We did this event at Wonderlab Camp, by Wonderlab in University Elementary.
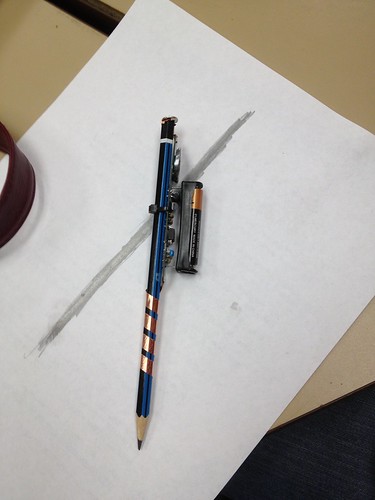
Finished drawdio.
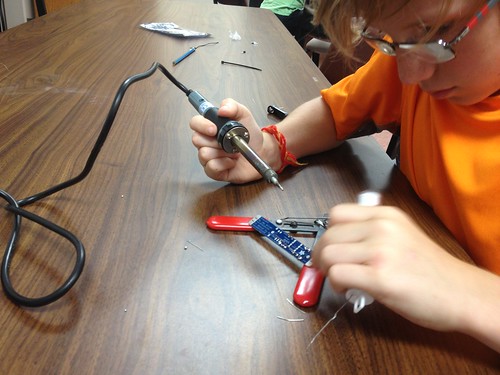
This guy was much better than me at soldering. And before we started he told me he didn’t think I should let him do it! I smiled as I told him, “Nope, everyone has to do it. How else will you know if you can do it?”

Spread of drawdios and equipment after we finished.